of Turnstile Barrier Gates Tasks: Metrics and Concerns")


Even though printing at home might be beneficial, there are instances when it’s advisable to delegate the task. Perhaps you need a print that is larger than what your home printer can generate, or you want to make a lot of prints. Or perhaps you have a print in mind for an image you adore but are unable to make it.
A professional photo printing service, whether accessed online or in person, can even eliminate the need for a personal printer. If you don’t print frequently, having your prints made for you can be more affordable. You can have by getting help from a professional.
1. Choose the Right Service
Before you decide to print the photos, choose the type of lab you’ll need. Depending on the needs you have at the moment, you might even want to collaborate with more than one. You might order your larger prints from a website that allows you to download profiles, save your larger, more important prints for a master printer, and use a consumer-friendly service for quick, modest copies.
Alternatively, you could use a service that handles color management for you, prints in any size (including posters), and maintains high-quality photo printing.
2. Calibrate Your Monitor
When was the last time you calibrated your monitor? Have you previously used it? If not, do you understand what it implies?
The most crucial component when getting photos ready for printing is having a properly calibrated monitor. You won’t be aware of the true appearance of the image without a calibrated display.
A spectrometer and calibration software are often used to calibrate the monitor, which involves balancing and fixing its color settings. Your photographs will appear differently on other devices if your monitor’s colors are off.
3. Color correction By Professional
If you are unable to calibrate, leave the color correction to the professionals. You won’t have to worry about it because the majority of labs that serve high quality photo printing, amateurs, and even professionals will correct the color for you. If you don’t have a calibration device or if you’re not very skilled at color correction, this is an excellent choice. The advantage of leaving it in the lab’s hands is that its specialists are well-versed in the quirks of its printers and papers.
4. Select a medium
Your prints won’t likely be produced on inkjet printers unless you choose a high-end facility. Instead, you’ll receive what are referred to as digital c-prints. These are produced by a chemical process in which a number of lasers are used to project your photos onto photo paper.
High-end laboratories, on the other hand, frequently use inkjet printers and may advise on the most effective approach and output medium.
5. Obtain test strips on your own
Order test strips if you want to have a lot of quality photo printing but are unsure of the optimum kind of paper for the pictures.
To compare how the same collection of photographs appear on different papers, use your editing software to group several of them together on a single large print. Or, send out a similar huge print with five or six different versions of the image on a single sheet of paper if you’re unsure of how much contrast or brightness will work best on the paper you’ve chosen. Order away once you’ve determined what functions the best.
6. Decide the aspect ratio of image
If the dimensions of your photo don’t match the print size specifications of a lab, its staff members—or an automated program—might crop the image for you. You can crop your own image before uploading if you want to have control over this.
Alternatively, you can open the image in your image editor and add a white border to it so that the entire image area, border included, matches the print size you’re purchasing in order to attain the desired aspect ratio at the biggest size. You would then need to trim the print or frame it with a mat that hides the border if you wanted to display it without a border.
Conclusion
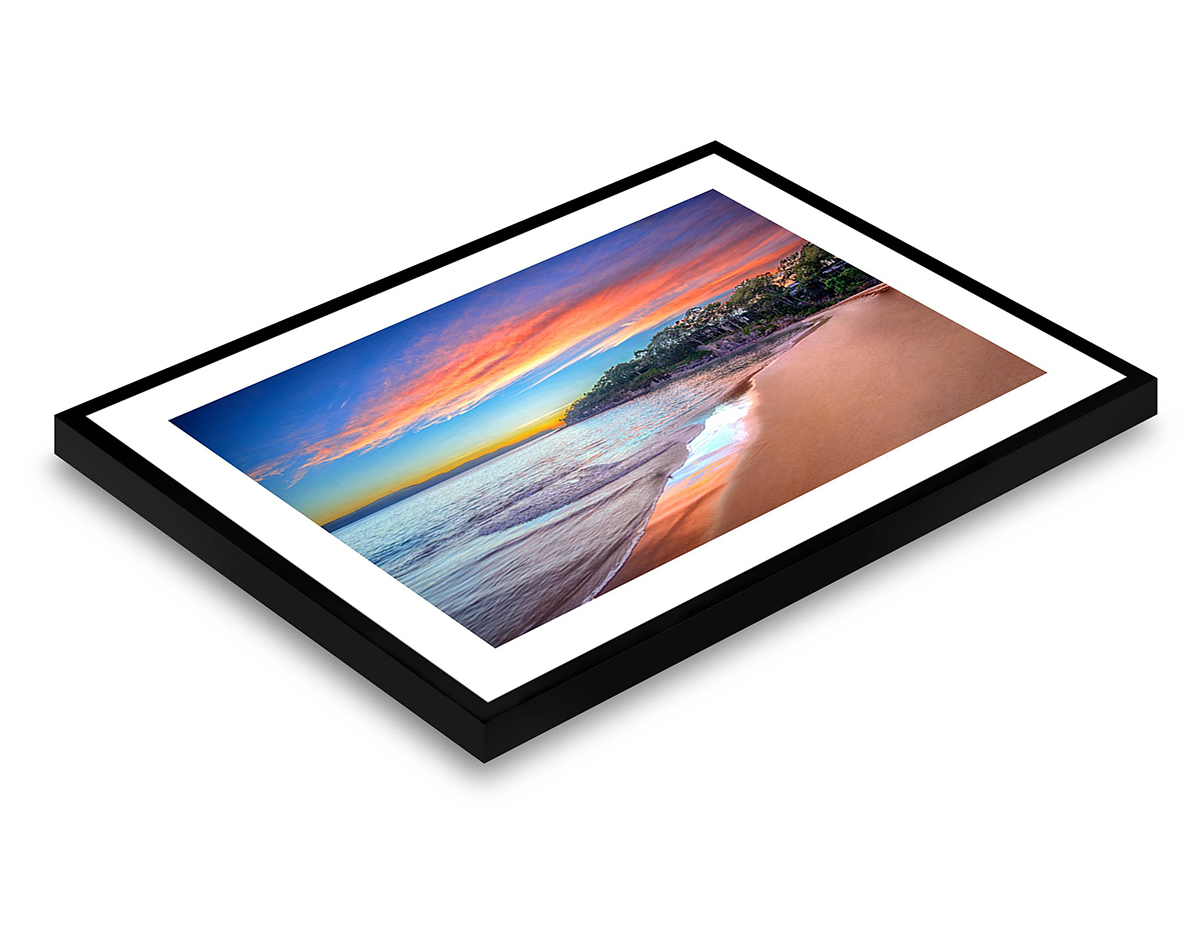
There aren’t many things more satisfying than seeing quality photo printing, whether it’s our own or someone else’s, printed, framed, and put on a wall. It takes some expertise to produce the ideal print, and if you overlook a few crucial details, your final product might not resemble your digital file at all. Fortunately, if you follow the above instructions, you’ll be able to get ready for printing and produce a finished product that you’ll be glad to hang on the wall.