


 of Turnstile Barrier Gates Tasks: Metrics and Concerns")


The Wavlink wifi extender setup is the ultimate lifesaver when it comes to internet-related problems. It always does a great job of clearing up dead spots from your land. The easiest part of using an AP is setting up a Wavlink wifi extender. Configure your network for a quicker, safer, and more dependable internet connection. All of your gadgets are compatible with wavlink extenders. Any device, including smartphones, smart TVs, and Roku, is compatible with Wavlink. We’ll go over the procedures you must follow to set up your Wavlink booster in this post.
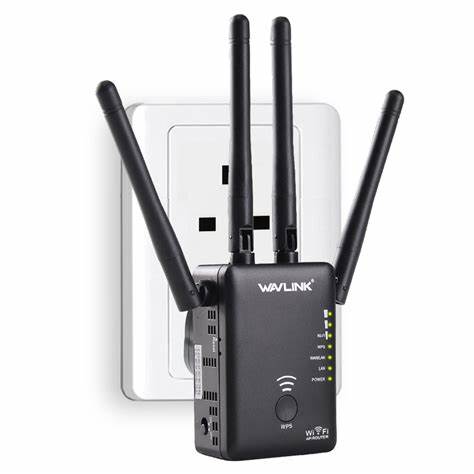
Wavlink WiFi extender Setup
- After unpacking, switch on your wavlink extender.
- Wait for the power LED to turn completely green after pressing the power button.
- Always keep the booster close to the router.
- Use the Ap extender setup extender to connect.
- Any web browser should be opened by typing ap.setup and pressing enter.
- To sign in, enter your personal information.
- Follow the instructions to finish the installation.
- Now that your repeater is disconnected, you may relocate it to your new location.
Note:- If you need any assistance regarding your wavlink wifi extender so contact our technician or visit the official website that is ap.setup.
WPS setup for wavlink wifi extender
Let’s have a look at the WPS method, which is said to be the quickest and simplest method for configuring your Wavlink repeater. After finishing the WPS setup procedure, you may configure your Wavlink wifi extender in less than two minutes. Let’s see how the WPS method functions.
The instructions for setting a Wavlink extender using the WPS method are as follows:
- Start the Wavlink repeater.
- Ensure that it is not too far from your home’s router.
- Your booster’s WPS button should be pressed.
- Your present home router’s WPS button has to be depressed.
- It indicates that you have successfully setup your repeater when it flashes three times in a row.
- The repeater may be detached and moved to any location of your choosing.
- This is how you configure a Wavlink wifi extender using the WPS method.
How do I update my Wavlink firmware?
You must update the firmware on your Wavlink extender to fix any problems that could occur (whether it is not providing the desired speed or something else). Your present home router’s WPS button has to be depressed.
Follow the steps below to upgrade the firmware on your Wavlink wifi extender:
- the Wavlink extender will start.
- Pick any smartphone.
- Open the Ap.setup file.
- selecting settings, then upgrading the firmware.
- Follow the instructions to finish the firmware upgrading procedure.
- Don’t unplug the booster until it has done because it will take a minute.
- The process for changing the firmware on your Wavlink extender is as follows.
How do I reset a Wavlink wifi extender?
If you want to recover your admin username or password after forgetting it, you must do a factory reset on your booster. The Wavlink extender erases all of your personal data, including passwords, usernames, and SSIDs, to get it ready for a new setup process. It takes a hard pointed object, such a paper clip or a needle, to finish the factory reset process.
The Wavlink wifi extender may be reset by doing what is mentioned below:
- Your Wavlink wifi repeater has to be connected to a power outlet.
- Look behind a little hole for the factory reset button.
- It was located on the repeater’s side panel.
- Press the reset button with a paperclip for 8 to 10 seconds.
- In a few seconds, it will automatically restart.
- The revised setup method may now be used with your repeater.
Please get in touch with us via our toll-free phone or live chat if you need assistance with your Wavlink wifi extender at this time. We are always here to assist you with any problems.


