Draw A Lamp
How To Draw A Lamp
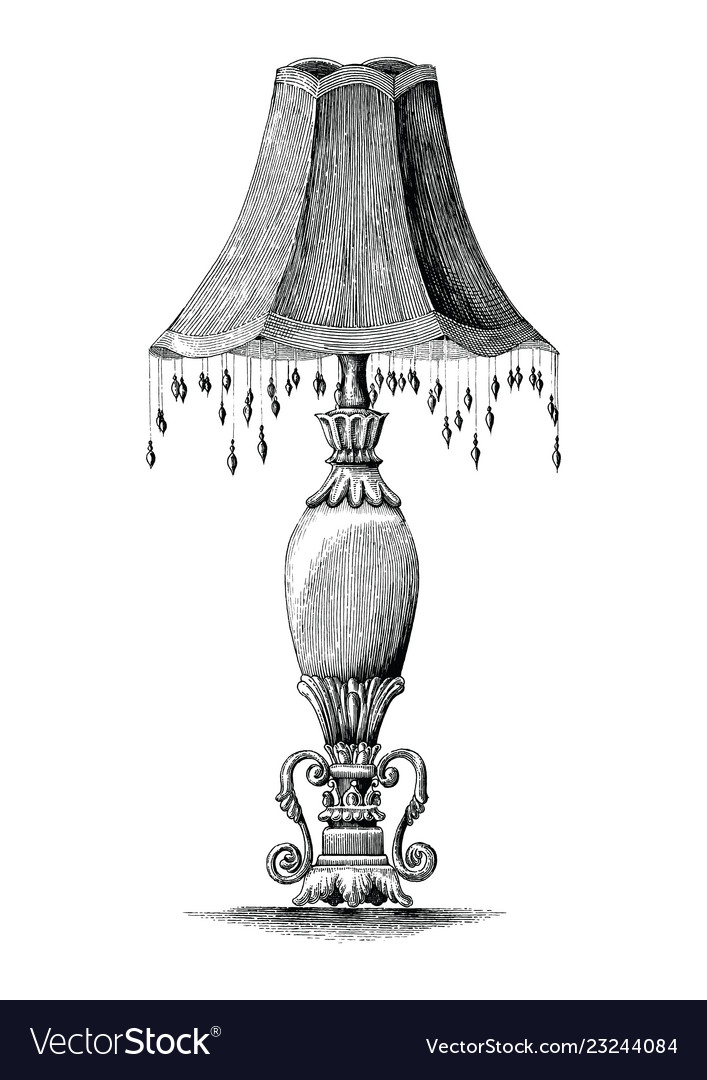
How To Draw A Lamp Lights are a typical home device that might appear to be straightforward yet can have many purposes. They not just assist with giving light to exercises like perusing or evening fixes yet can likewise be exquisite in their plan such that assists them with enriching the room they light up. With such countless styles of lights to secure, figuring out how to draw a light can be an incredible method for planning your varieties. This is the manual for use assuming these sounds like something you might want to do. Our bit by bit guide on the most proficient method to attract a light 6 stages will illuminate you on the cycle and permit you to make your cool light plans! If you are looking for drawing ideas, cool drawings, drawing for kids, cartoon drawings, flowers drawing, animals drawing then you are at the right place, here you will get all of these drawings.
!
Stage 1
To begin this aide on the most proficient method to draw a light, we’ll begin with the actual light. You can begin by defining an adjusted boundary for the highest point of the light liner. Then you can draw a level crescent at the foundation of it for the light opening. It wouldn’t be a light without a bulb to give light, so we’ll complete this step by drawing this bulb. You can draw this bulb with one more adjusted line inside the light opening. When you’re content with what it looks like, we can continue on toward stage 2!
Stage 2: Next, draw the start of the light arm.
Numerous lights will have a customizable arm that will permit you to situate it as per your requirements. We will begin the arm for your light plan in this following stage. In the first place, you can begin by drawing a square shape on top of the light head where the arm will join. There will then, at that point, be two short lines emerging from this square shape, which will connect to one more shape that is adjusted on one side with a straight edge on the other. For the last piece of this step, you can utilize a ruler to get completely straight lines. When you’re prepared, broaden a couple of straight lines from the past shape you recently drew.
Stage 3: Draw the remainder of the arm and the base.
In this step of our aide on the most proficient method to draw a light, we’ll complete the diagrams of the arm and base to set you up for the last subtleties. In the first place, draw another of those shapes with an adjusted edge inverse a straight edge, as you attracted the last part. Then, at that point, broaden two additional straight lines at a descending point from this shape, prompting the base. The base is straightforward and can be drawn as a moderately level shape with a little switch. The region where the base associates with the arm will likewise have one of those equivalent adjusted shapes. At the point when you have repeated these viewpoints as they show up in the picture, you will be prepared for the following stage!
Stage 4: Presently keep adding more subtleties to the light.
We will add a few better subtleties in this step and in the subsequent stage of drawing your light. We’ll zero in on the arms first, and keeping in mind that they might seem, by all accounts, to be made of strong pieces, they’re made of two wires for every arm.To make this impact, add a couple of additional straight lines lined up with within edge of the arm frames. It looks more muddled, and the reference picture will show you what it ought to resemble! Then, add screws to the arm connector pieces by adding a little circle with a line through every one of these connector pieces. At long last, you can add line subtleties to the top of the light and the bulb and base.
Stage 5: Wrap up drawing your light.
You have finished the whole attracting frame our aide on drawing a light, so we will presently wrap up for certain last subtleties. We’ve kept these subtleties genuinely unpretentious in our example picture. By adding a couple of straightforward line subtleties to all pieces of the light, you can give the light somewhat more definition. Whenever you’ve added these line subtleties, you can add your own as well! You can change the plan and subtleties of the light, or you can give it somewhat additional background info by drawing a foundation. By drawing a foundation, you can show the work area on which this light sits and attract different items to come. What kind of setting could you put this light in?
Stage 6: Finish your light plan with some tone.
Nothing finishes an image like special tones, and that is the very thing we’ll add for the last step of drawing your light! In our image of